What a Violation Photo Actually Has to Prove
Covenant enforcement is only as strong as the documentation behind it. When a violation case goes to a hearing, mediation, or court, the photo record often carries the most weight. The burden is on the association to show a clear, unbiased view of both the problem and the property involved. A good photo proves that the condition was visible from a public or common area, that it existed on a certain date, and that it clearly connects to the right house or unit.
Without this, an owner can claim the violation was already fixed, that it was never their property, or that the photo was taken at another time. Photos must be clear, undistorted, and directly relevant. Blurry images, missing addresses, or vague "close-ups" invite challenges. The goal is to create a chain of evidence that can stand up to scrutiny, even months or years later.
Every step, from the moment you step out of your car to the way you name the file, should support this goal. The right approach saves time on the back end by reducing disputes and repeated notices.
Keep reading: Every Line a Covenant Violation Notice Needs Before Mailing
Shooting From the Street: Where You May and May Not Stand
Most association rules require that violations be documented from common areas or public rights-of-way. This protects both the board and the resident's privacy. Standing on the sidewalk, curb, or street is standard practice. These spots are considered public, and photos taken from here are difficult to challenge as trespass.
Do not enter the resident's yard, porch, or driveway unless the governing documents or state law specifically allow it. Even with a verbal invitation, it is best to get permission in writing if you must step onto private property. Courts are strict about privacy: any photo taken from inside a fence, looking through a window, or standing on a deck will likely be thrown out and could expose the association to liability.
When conditions are hard to see from the street, use a camera with a zoom lens instead of moving closer. Hold your ground in a public or common area, even if it means the violation is less dramatic. The legitimacy of your position outweighs a more dramatic shot.
Framing the House Number in the Same Shot as the Condition
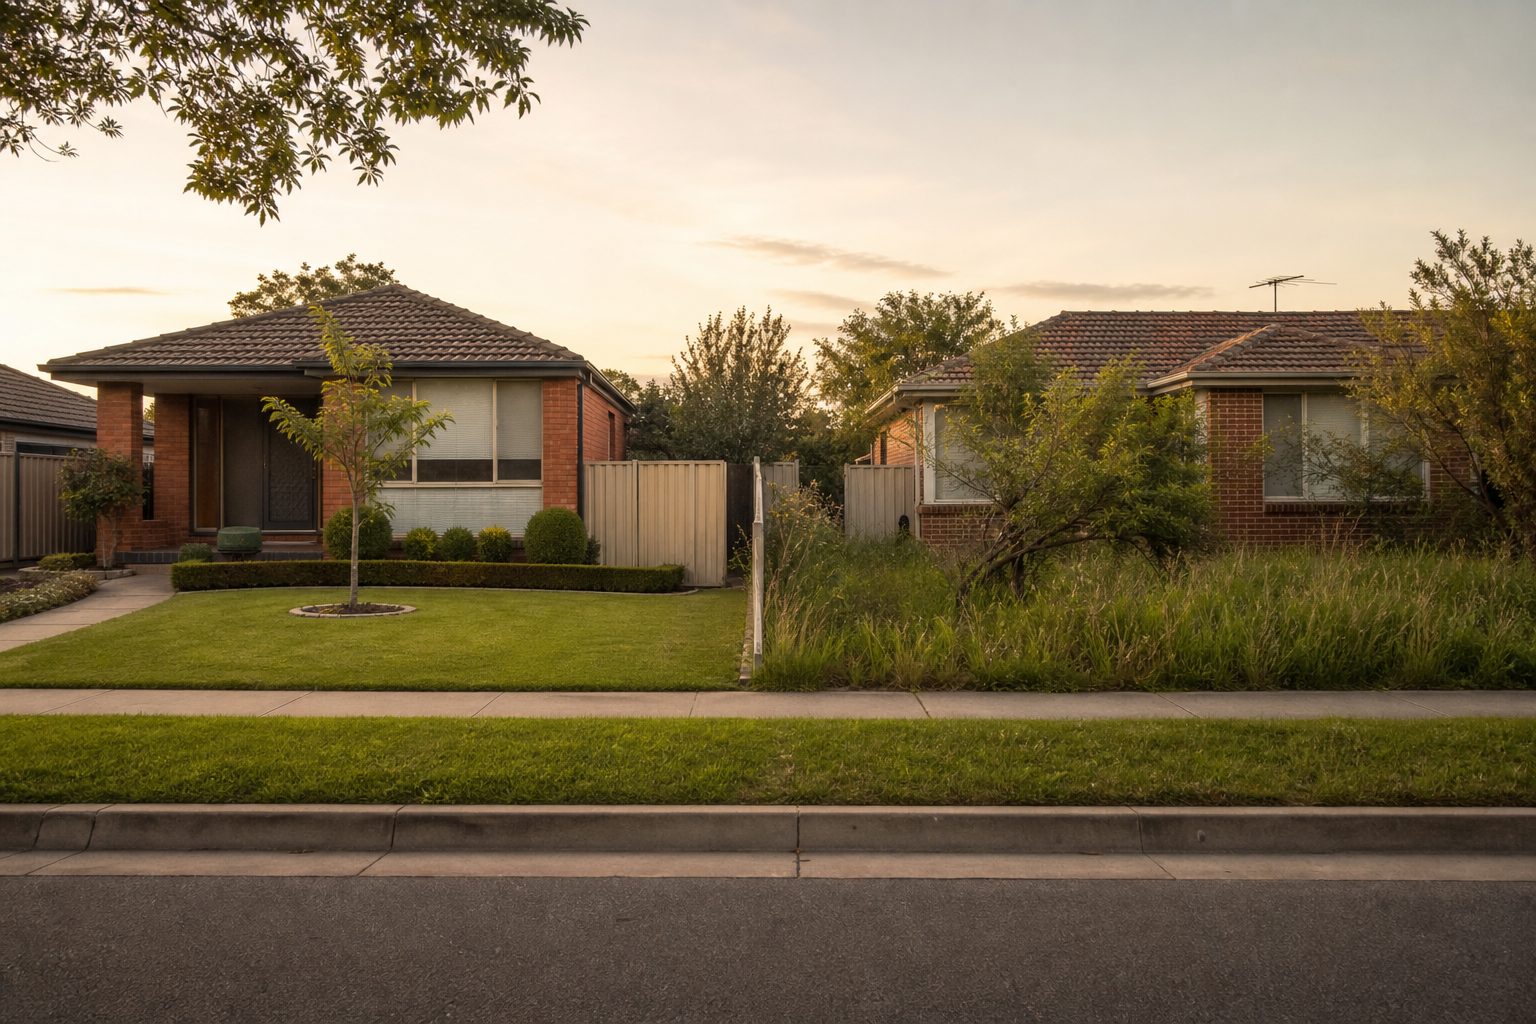
The most common reason a violation photo fails is a missing address. Owners will argue, sometimes successfully, that the photo does not show their property. To avoid this, always try to frame the house number, mailbox, or another unmistakable marker in the same shot as the problem.
Walk the sidewalk until you find an angle where both are visible. If the violation is in the back yard or on the side, look for creative ways to connect the view to the property. For example, a fence, gate, or unique lawn ornament in the wide shot can establish context. Avoid photos that zoom in so tightly on the violation that there is no way to tell where it came from. It is better to include more of the property, even if the violation appears smaller in the frame.
If no number is visible, look for alternatives: a distinctive address plaque, a unique paint color, or a tree that sets the property apart. Take a sequence of shots if needed, one showing the whole house with the number, and one zoomed in on the violation, so the story is clear and continuous.
Keep reading: Fines, Suspension, Self-Help or Suit: Choosing an HOA Remedy
Wide, Medium, Tight: The Three Shot Sequence
One photo is rarely enough to make your case. The best practice is to take three shots of every violation: wide, medium, and tight. This approach mirrors the way insurance adjusters and property inspectors document claims.
The Wide Shot
Stand far enough back to show the entire front of the house or unit, including the address. This establishes location. The violation itself may be small in the frame, but that's acceptable for this first shot. The wide view also protects against the claim that the violation was misidentified.
The Medium Shot
Move in halfway. Now the violation should fill about a quarter to a half of the frame, but you should still see enough of the property (door, garage, shrubbery, sidewalk) to place it. This shot balances context and detail. It is often the most persuasive image during a hearing.
The Tight Shot
Get as close as you can while remaining in a public or common area. The tight shot shows specifics: peeling paint, a broken fence picket, or an overgrown patch of grass. Here, the goal is to capture detail, not context. If the violation is a recurring one, such as trash cans left out, make sure to focus on the item itself so its condition is obvious.
This three-shot sequence leaves little room for argument. When logged and stored together, it creates a step-by-step visual record that is hard to dispute.
Timestamps, EXIF Data and Why Screenshots Break Them
Modern smartphones and digital cameras embed metadata in each photo file. This includes the date, time, and sometimes the GPS coordinates. This information, called EXIF data, is valuable in hearings. It provides an independent record of when the photo was taken, crucial if a resident claims the photo is old or altered.
Screenshots destroy this data. When you take a screenshot of a photo, the new file saves only the date and time of the screenshot, not the original moment the photo was captured. Any original EXIF information is lost. This can wreck your case if you later need to prove the photo was taken on a certain date.
Always upload or print the original files directly from the camera or phone. Never crop, edit, or manipulate the photo in a way that changes the original file. If you must resize or redact something for privacy, save a copy and keep the original file untouched in your records.
Check camera settings before you start. Some older models or privacy modes may disable date and time stamping. Make sure your device is set to record this data. When possible, avoid apps or tools that automatically compress or reformat images, as they can strip away key metadata. This is especially important when a violation is likely to be contested or may eventually reach a legal forum.
See how HOACovenant handles this for community associations
Repeating the Exact Angle for the Cure Photo
Once a homeowner addresses a violation, you will need to document the correction. Here, consistency is everything. The best cure photos are shot from the same angle, distance, and height as the originals.
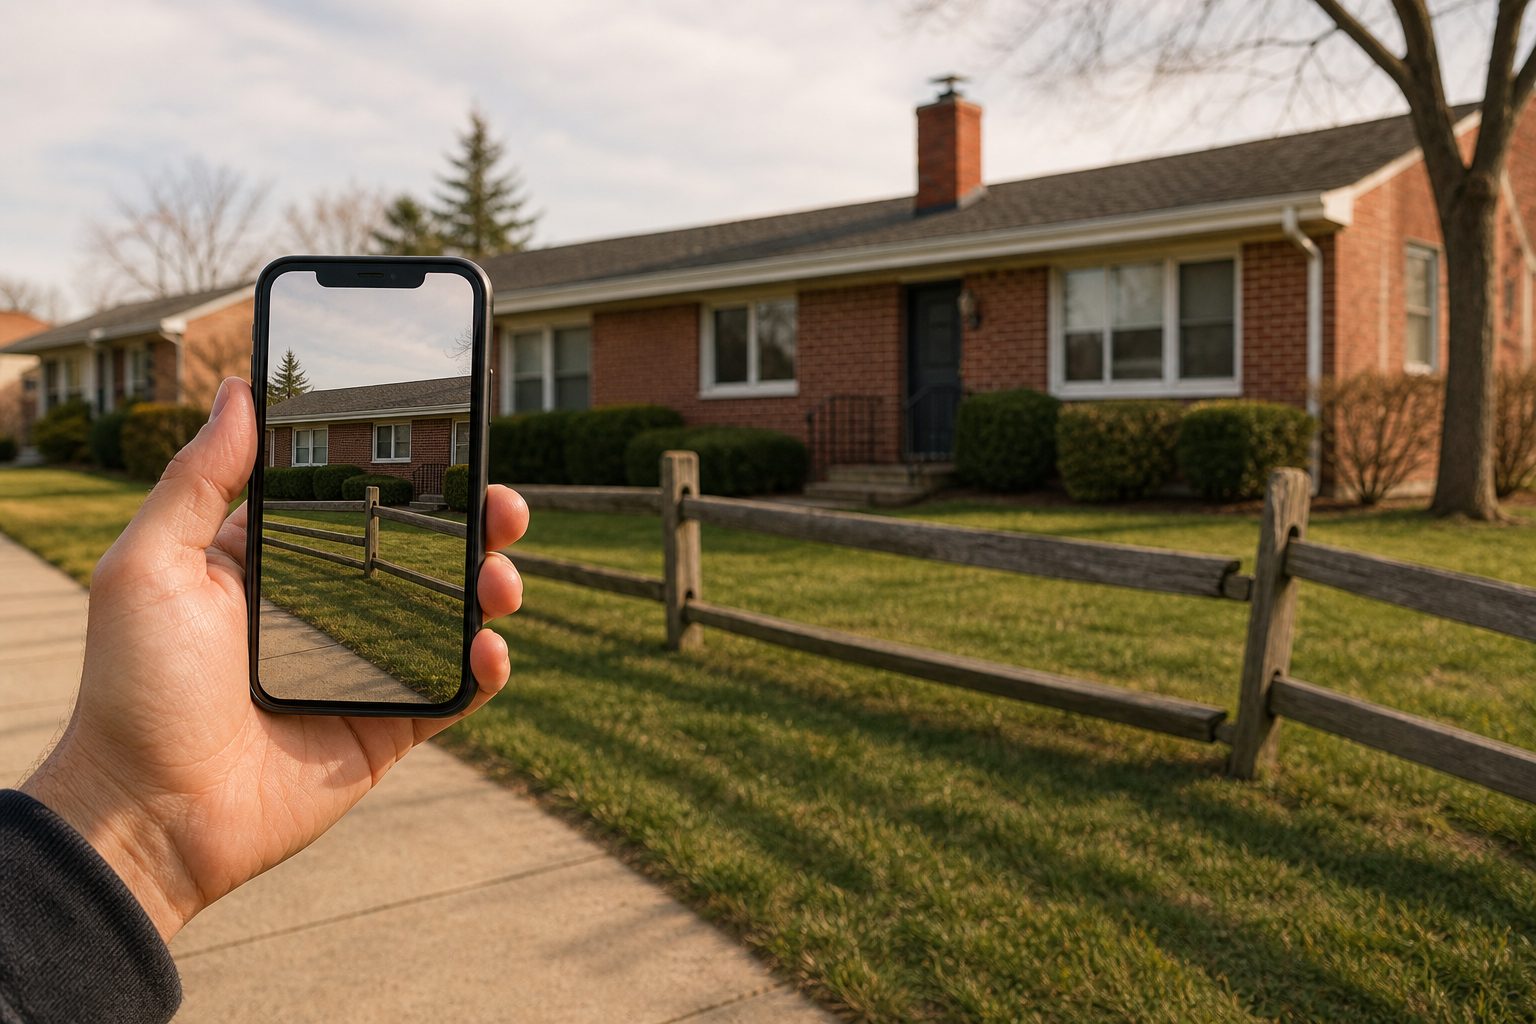
Bring the original photo with you, either on your phone screen or printed out. Stand in the same spot you used before. If you took the wide shot from the sidewalk at a certain tree, or the medium shot from next to the mailbox, line yourself up again. Try to match the framing, so that the before and after images can be compared side by side. This reduces arguments about whether the violation was actually fixed or whether the new photo shows the same place.
Use features in the environment as guides: cracks in the pavement, the shadow line of a tree, or the edge of a garden bed. These fixed points help you recreate the original angle. If seasonal changes hide some details, a snowdrift, tall summer grass, note this in your records, but still aim for the closest match possible.
Repeat the wide, medium, and tight sequence for the cure. When the set is complete, it tells a clear visual story: what was wrong, what was fixed, and when.
File Naming and Storage That Keeps the Set Together
Once you have your images, organization is the last step. Poor file management sinks more violation cases than any other mistake. If photos cannot be located, or are mixed up with other properties, their value drops to zero.
The most reliable system uses a combination of date, property address, and violation type in the file name. For example: 2024-06-22_124ElmStreet_peelingpaint_wide.jpg. This format is easy to search and keeps wide, medium, and tight shots grouped together. When you return to take a cure photo, use the same naming structure, changing only the date and adding "cure" to the file name.
Store each violation set in a dedicated folder for the property or for that year's enforcement actions. Cloud storage is safer than a personal hard drive, especially for multi-year retention, but make sure access is restricted to authorized association members or managers. Regular backups protect against lost devices and accidental deletion.
When possible, use a system that links photos directly to the violation log, so that each notice, letter, and cure is attached to the right set of images. This minimizes confusion and makes it much easier to respond to owner requests, audits, or legal challenges down the line.
Many boards now use platforms designed for HOA documentation. These allow direct uploads from the field, enforce naming conventions, and store the image sequence with the violation record. A tool that automates these steps reduces errors and preserves the chain of evidence, freeing volunteers and managers to focus on resolving issues instead of tracking down missing files.